Photographing the northern lights
Iceland is one of the best places in the world to photograph the northern lights. With its vast open spaces, dark skies, and relatively low light pollution, Iceland provides an excellent backdrop for capturing the mesmerizing aurora borealis. This guide offers essential tips and insights to help you make the most of your photo expedition.
Best Times to Photograph the Northern Lights in Iceland
The northern lights can be viewed from late September to early April, with optimal chances occurring from December to February. During these months, the nights are long, and the skies are often clear, making it ideal for photography. We talked to Rán Bjargar, nature photographer.
Ideal Locations for Northern Lights Photography
Here are some of the top spots in Iceland to capture the northern lights:
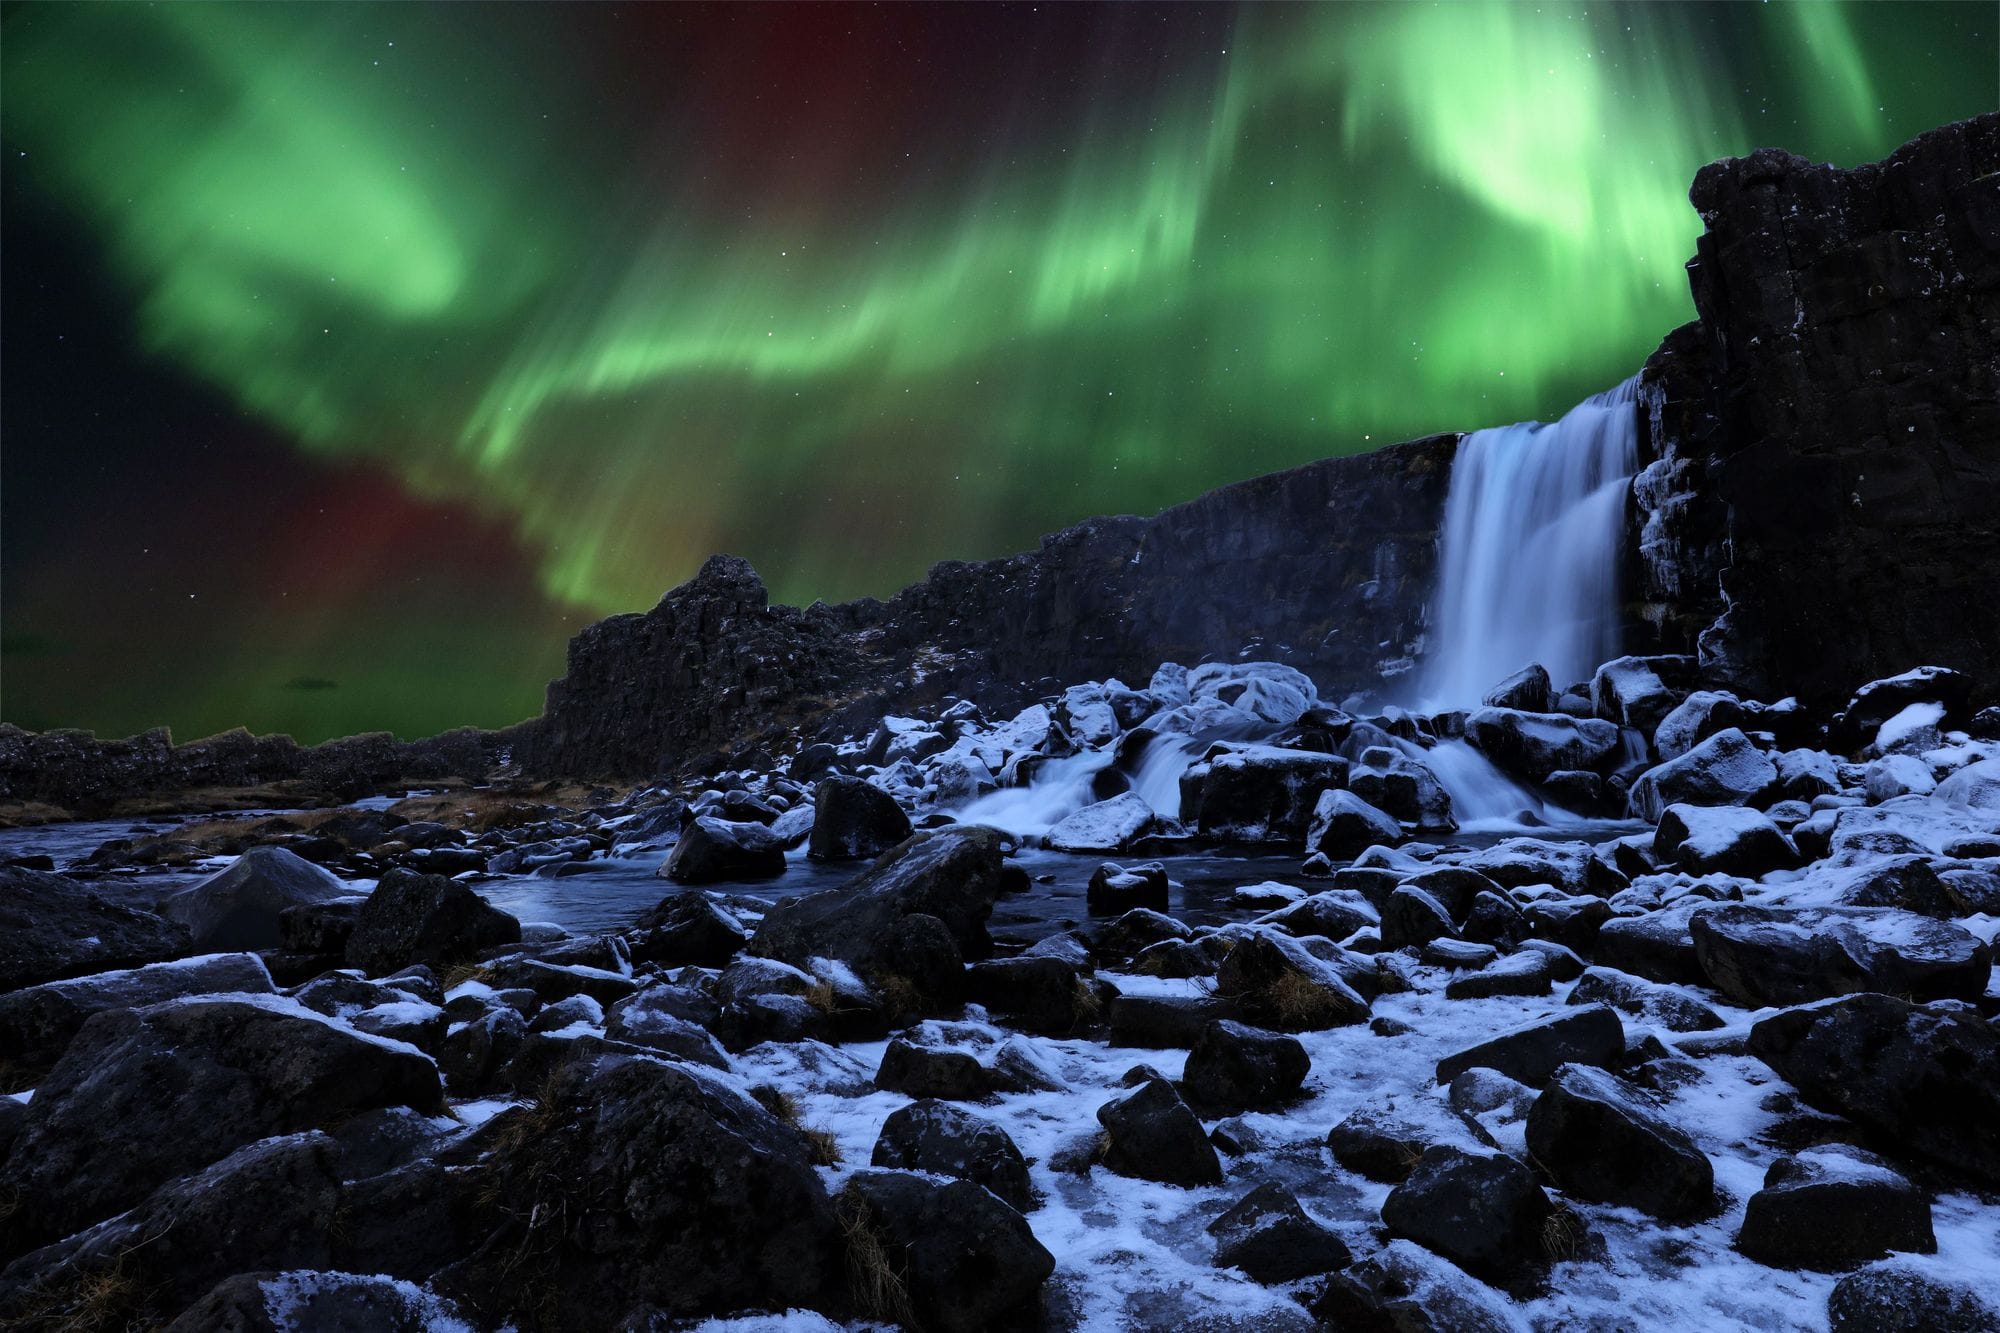
Thingvellir
National Park
A UNESCO World Heritage site, it offers dark skies and stunning landscapes, including rift valleys and lava fields.
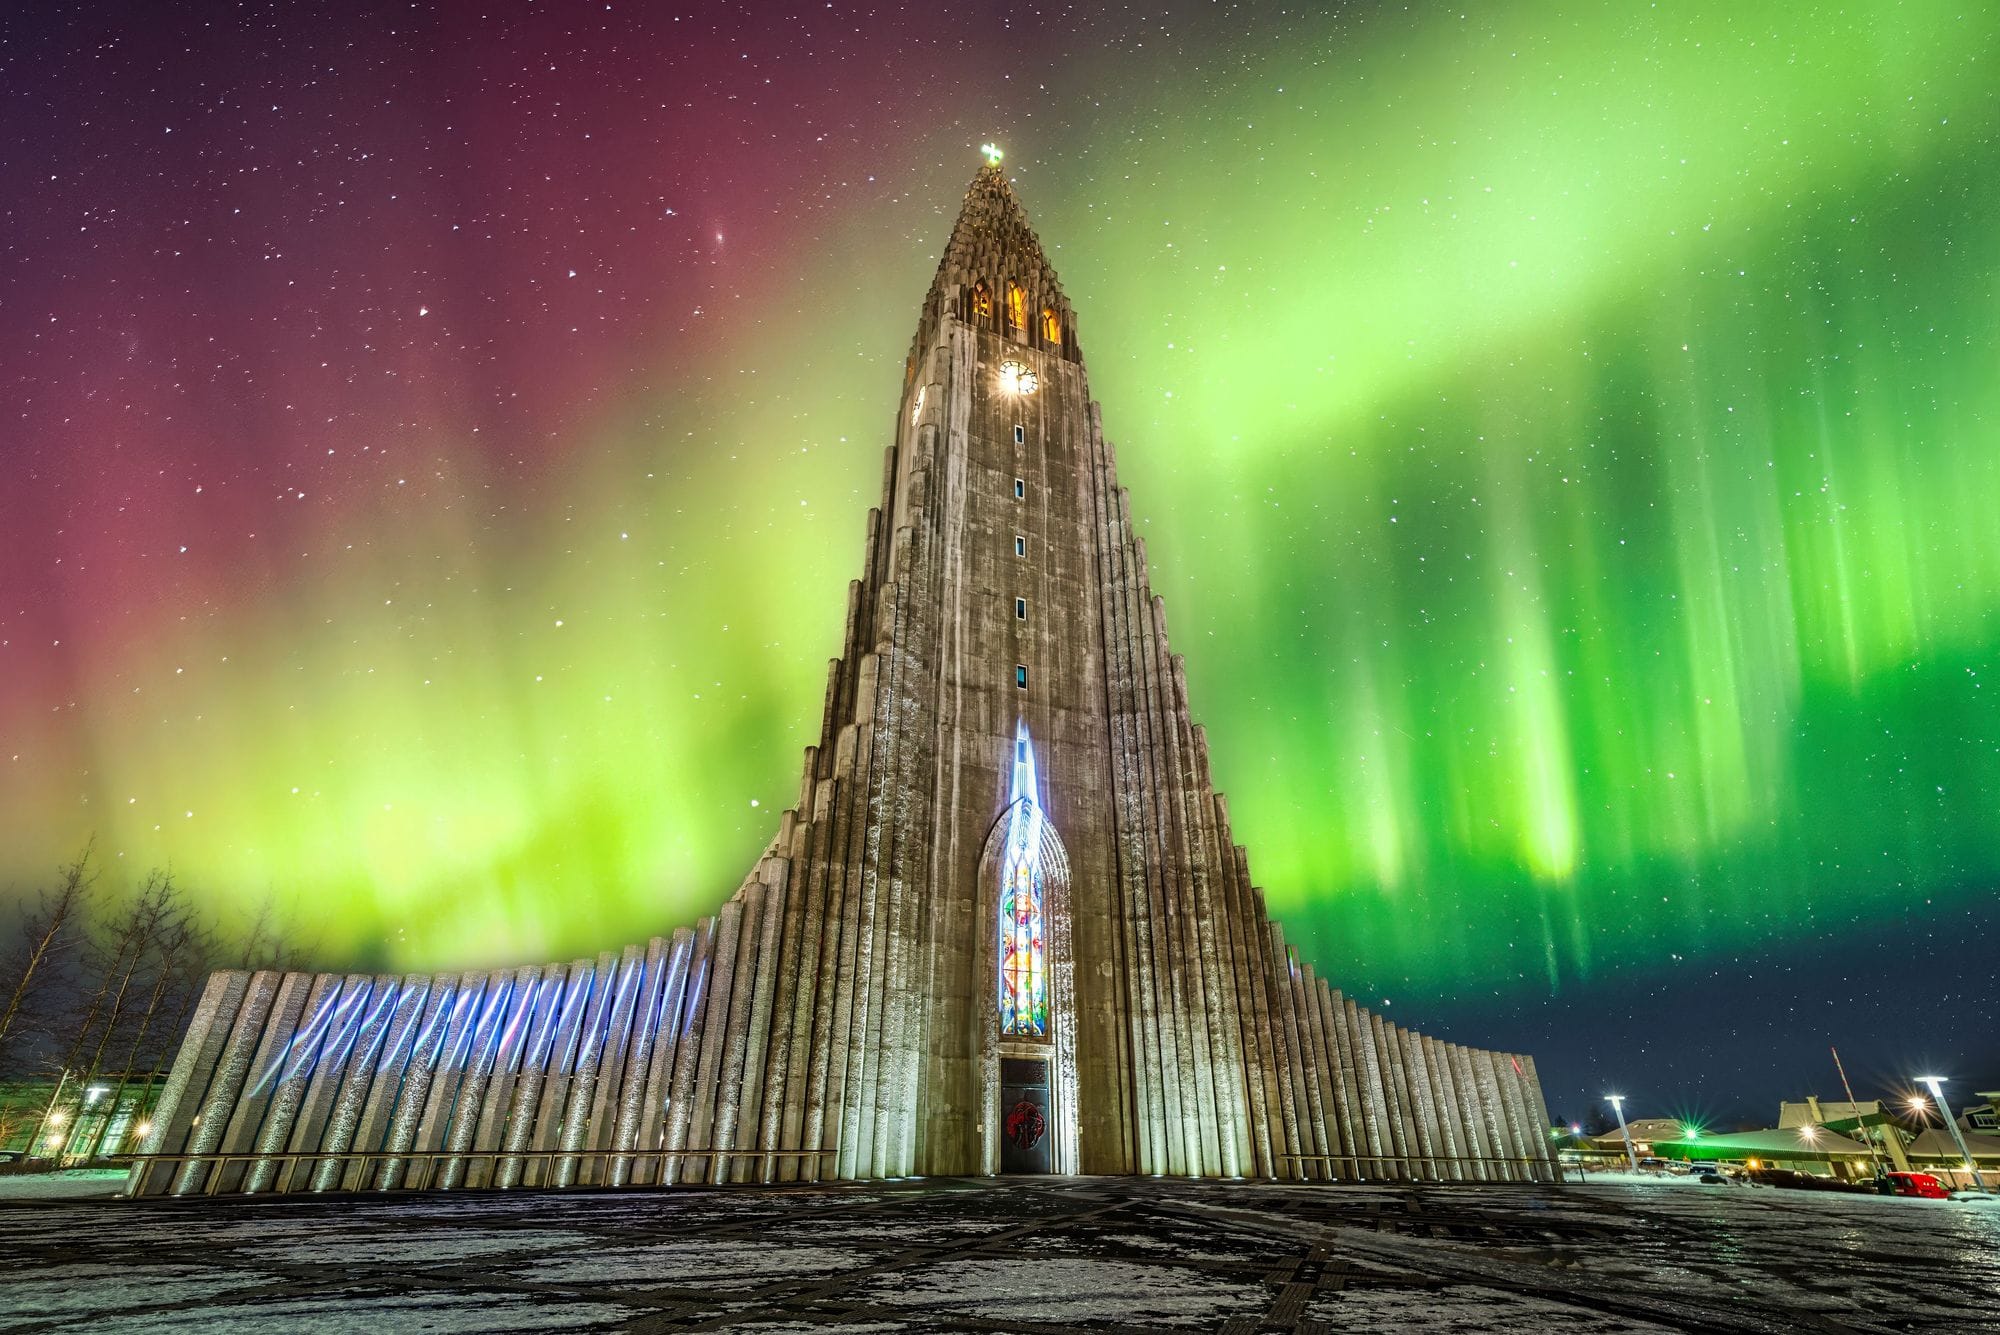
Reykjavik
While the city has some light pollution, nearby locations like the Grótta Lighthouse provide good viewing options without venturing too far.
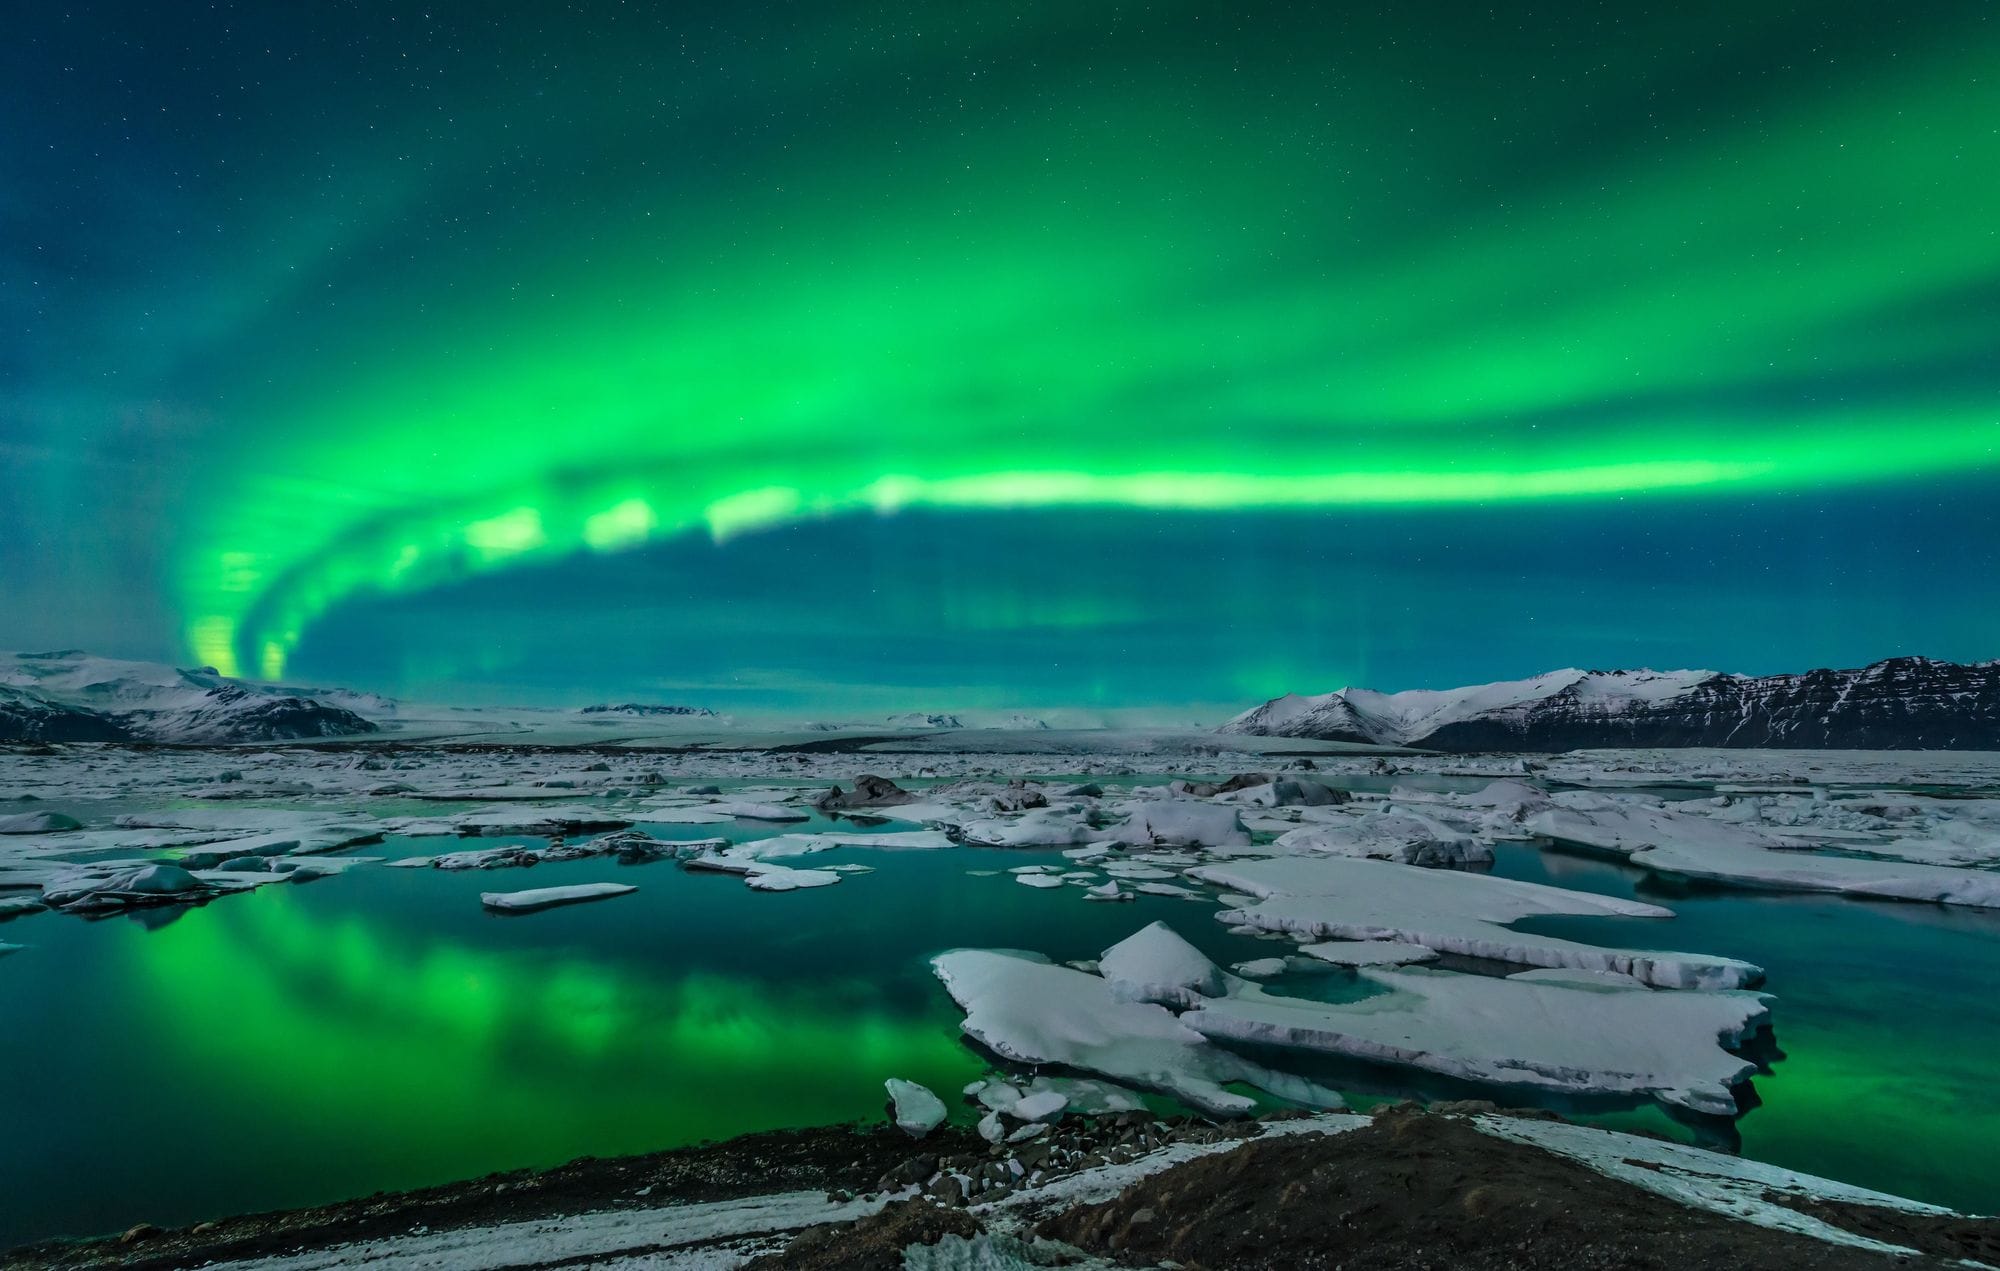
Jökulsárlón Glacier Lagoon
The reflective waters of the lagoon create a breathtaking foreground for the auroras, especially when icebergs float by.
Essential Gear for Photographing the Northern Lights
To successfully photograph the northern lights, equip yourself with the following gear:
- Camera: A DSLR or mirrorless camera with manual controls is crucial for tweaking settings to capture the lights.
- Lens: A wide-angle lens (f/2.8 or wider) allows you to capture more of the sky. A 14mm to 24mm focal length is ideal.
- Tripod: A sturdy tripod is essential for stability during long exposures.
- Remote Shutter Release: This device helps prevent camera shake when taking long-exposure shots.
- Extra Batteries: Cold temperatures can drain batteries quickly, so bring enough replacements.
Camera Settings for Northern Lights Photography
- Mode: Manual
- Aperture: f/2.8 or lower to allow maximum light in.
- ISO: Start around ISO 800 to 1600, adjusting as needed based on your lens and camera capabilities.
- Shutter Speed: Usually between 5 and 30 seconds, depending on the strength of the auroras. Shorter exposures (5-15 seconds) work well for fast-moving lights.
- Focus: Set your lens to manual focus and focus on a distant object or star before your shoot.
Tips for Capturing the Northern Lights
- Check the Aurora Forecast: Websites and apps provide real-time data on aurora activity and weather conditions, allowing you to plan your outings effectively.
- Find Dark Spots: Move away from city lights to locations with minimal light pollution for better visibility of the auroras.
- Compose Thoughtfully: Incorporate interesting foreground elements such as mountains, lakes, or unique geological formations in your composition to create more dynamic images.
- Be Patient and Flexible**: The northern lights are unpredictable. Remain patient, keep an eye on the sky, and be ready to adjust your settings as needed.
- Post-Processing Your Northern Lights Photos
Once you have taken your shots, consider using editing software to enhance them: - Adjust Exposure and Contrast: Fine-tune exposure to balance brightness and shadow.
- Enhance Colors: Boost saturation and vibrancy to make the aurora colors pop without overdoing it.
- Noise Reduction: Apply noise reduction techniques, especially if you shot at a higher ISO, to achieve a cleaner image. Best store to buy is Beco.
Photographing the northern lights in Iceland can be a breathtaking experience. By choosing the right location, preparing your gear, and mastering some photographic techniques, you can capture images that truly reflect the magic of the aurora borealis. Bundle up, enjoy the enchanting nights, and happy shooting!
- Thank you for reading this page. We hope it was informative, If not please let us know through keytoiceland
Thank you for reading this page. We hope it was informative, If not please let us know through [email protected]
Everyday Icelandic Food (Not the Tourist Version)
February 2026

Do You Need a 4x4 in Iceland? When, Where, and Why
February 2026

What Locals Do Differently in Winter in Iceland
February 2026

Reynisfjara After the Erosion: What Has Changed and Why It Matters
February 2026

Öskudagur in Iceland: From Ashes to Costumes
February 2026
Water in Iceland: Why It’s Among the Cleanest in the World
February 2026